
Pizza in Teglia: Roman Pan Pizza in a Domestic Oven
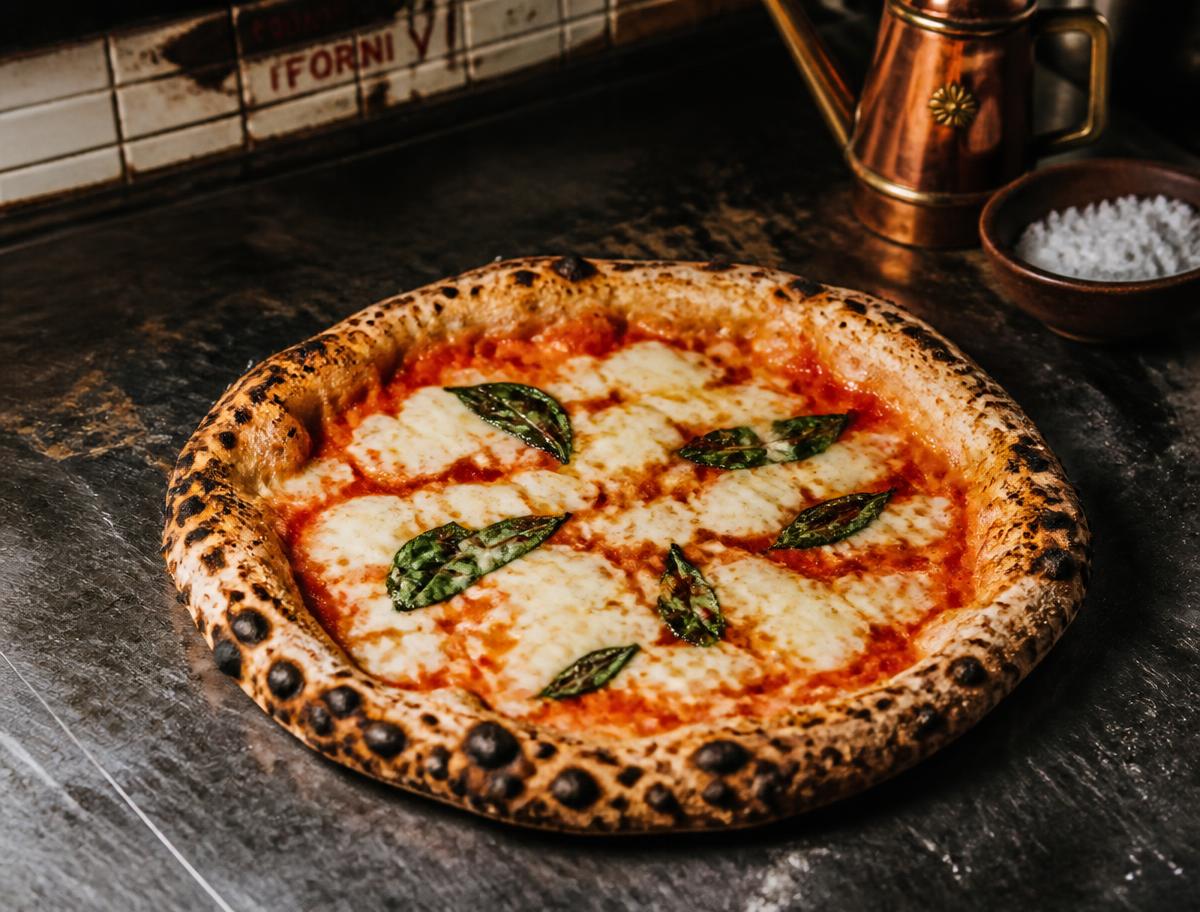
Neapolitan round pies demand scorching wood-fired heat that domestic ovens simply cannot replicate. Roman pan pizza, or pizza in teglia, is engineered for standard home kitchens, yielding a cloud-light crumb and a shattered-glass crust.
Why the Roman Pan Suits the Domestic Kitchen
A round Neapolitan pizza needs upwards of 450°C to lift and set before the moisture escapes. When home cooks push a domestic oven to its 250°C maximum, a thin disc of dough tends to dry out into leather long before it freckles with char. Roman pizza in teglia solves this thermodynamic dilemma through thickness, oil, and prolonged contact with hot metal.
In Rome, teglia is sold by the cut, baked in heavy blue steel trays that conduct ferocious bottom heat. The dough is intensely hydrated, often 75 to 80 percent water against flour weight. That trapped water turns to violent steam inside the crumb, blowing open huge alveoli, while olive oil in the pan fries the underside to a brittle, mahogany snap.
Choosing Flour with Backbone
High-hydration dough is a sponge. If you attempt an 80 percent hydration recipe with standard supermarket plain flour, you will end up with unmanageable batter. You need a strong bread flour or Italian Tipo 0 with a high W rating, ideally around W300 or above 13 percent protein.
This gluten structure holds onto water molecules during a slow fermentation. At COTTO in Kirkstall, we give our Roman dough 72 hours in the cold to let natural enzymes break starches into simple sugars. At home, even a 24-hour rest in the fridge transforms the dough, giving you complex lactic flavour, supple extensibility, and an airy lightness that never sits heavy on the stomach.
The Gentle Stretch and the Blue Steel Pan
Handling wet dough requires confidence and semolina. Never use a rolling pin, which crushes the gas pockets you spent days cultivating. Tip the chilled dough onto a heap of coarse semola rimacinata, dust your fingers, and dimple the surface using your fingertips, starting from the perimeter and working inwards.
The pan itself matters. While non-stick baking trays will work in a pinch, seasoned blue steel or heavy anodised aluminium transfers heat far faster. Film the tray with a generous tablespoon of good extra virgin olive oil. Transfer the dough gently by draping it over your forearms, laying it into the pan, and edging it towards the corners without tearing the delicate gluten web.
Staging the Bake for Maximum Crunch
Domestic ovens heat from the top and back, which is the enemy of a crisp base. The secret is staging. Preheat your oven to its absolute limit, usually 250°C, and position a heavy baking stone or steel plate on the lowest possible rack for at least forty-five minutes before baking.
Bake the dough blind or with just a slick of crushed plum tomatoes directly on the floor or the lowest rack. This forces all available energy into the base during the first eight minutes, setting the rise and frying the crust. Once the bottom is crisp and firm, pull the pan, scatter your toppings, and return it to the top third of the oven so the cheese melts and blisters under the grill without overcooking the crumb.